Replacing a teak deck with Treadmaster on a Perry 35
I had been
planning this job more or less since I bought the boat in
1999. The teak was in very poor shape – badly toughed,
with many plugs missing, and no depth left to fit new ones.
I had spare time last autumn/winter (2002), and got into
it. The weather in Hong Kong in November/December is
perfect for this type of job, with very clear dry conditions
(humidity below 50% much of the time) and temperatures in
the low 20s (centigrade). So I didn’t need to think about
working under cover. Job went as follows:
Click all images for full size
Take off all the
deck fittings, including the genoa tracks.
Rip off the old
teak (a big screwdriver was enough).
Remove all of the
machine screws – some unscrewed, most needed a self-locking
wrench, and some crumbled away (suggesting water
penetration).
Ream out all the
screw holes one size oversize using a cordless drill (I did
all the work on a swinging mooring). Most holes brought up
nice dry core (mahogany I think). Perhaps 5% brought up wet
core. Most of these were on the foredeck. These holes I
drilled out another size.
Leave the deck to
dry for about a week. After this I could find no more wet
core.
Fill all the
screw holes with epoxy (using syringes). This was a
multistage operation, as the epoxy soaks into the core.
Now came the hard
bit – scrape, scrape, scrape to remove all the old black goo
under the teak, and sand, sand, sand to get all the filled
screw holes flush with the deck. This took about 7 days of
really hard work.
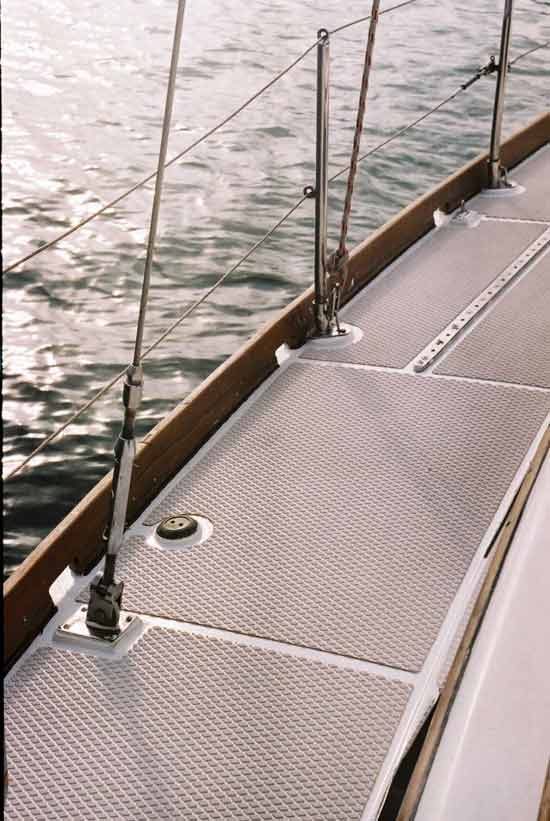
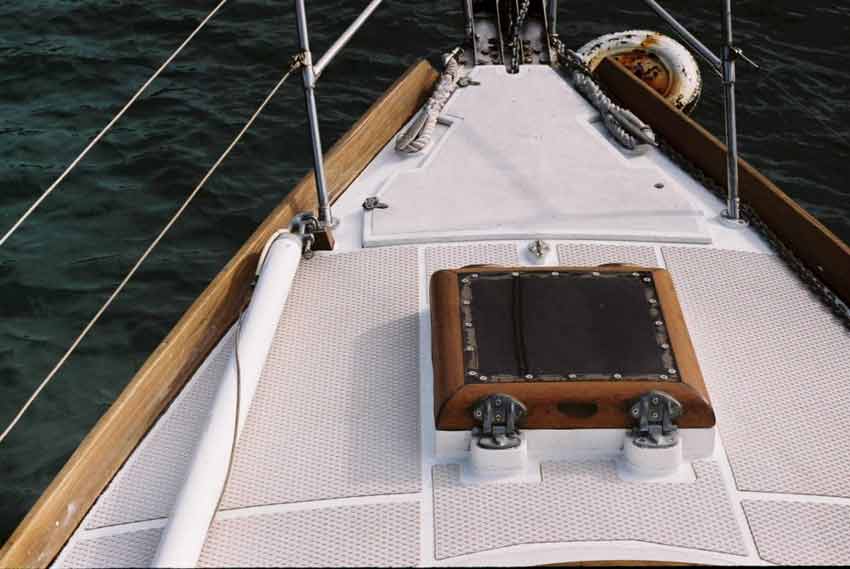
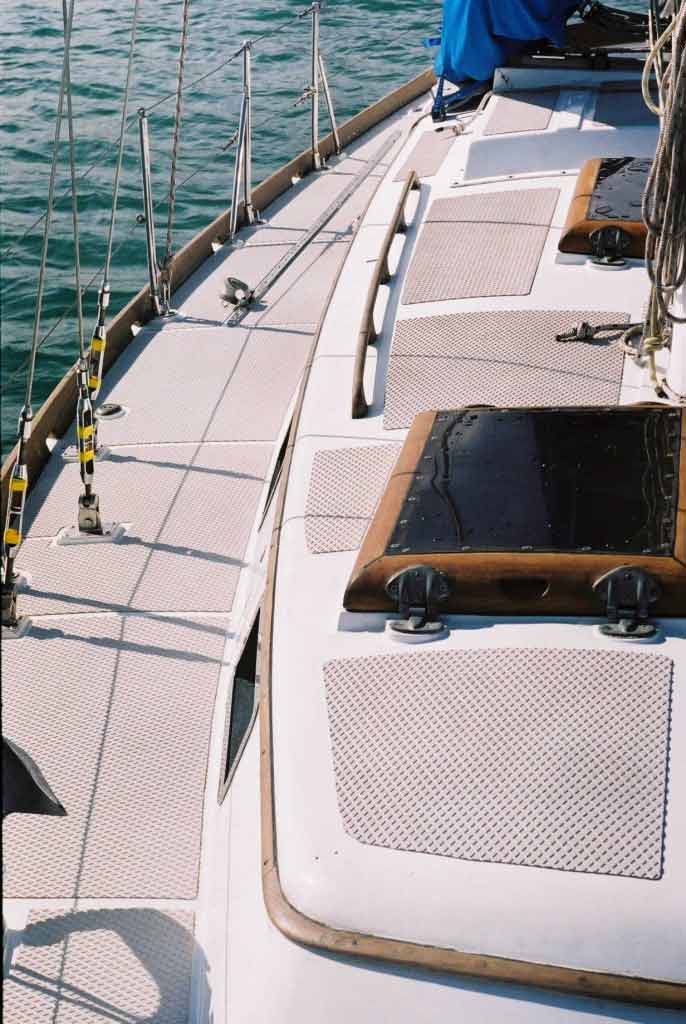
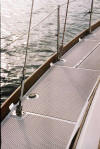
Mark out the
patterns on the deck for the Treadmaster. I did this using
a scaled paper deck plan and lots of rectangles of paper to
represent sheets of TM. This let me work out to most
efficiently use the TM. The deck was then marked out more
accurately. I needed 10 sheets, and bought White Sand (the
palest colour), to keep the heat down below decks.
Sand sand sand
again in between where the TM would go and bush paint with
2-pack white.
Cut TM sheets and
apply using waterproof contact cement. This is nerve
wracking, as you only get one chance to put it in the right
place! The trick was to apply one corner, lay down one side
to another corner, then roll it out flat. Then walk around
on it to make the bond.
Bolt all the deck
fittings back on. Relax and admire it. Go sailing!
The job took me
getting on for two months, working 5/6 days a week. I was
single handed, and help would obviously have quickened
this. But I understand why boatyard bills are so much for
this type of work. It just needs lots of man-hours.

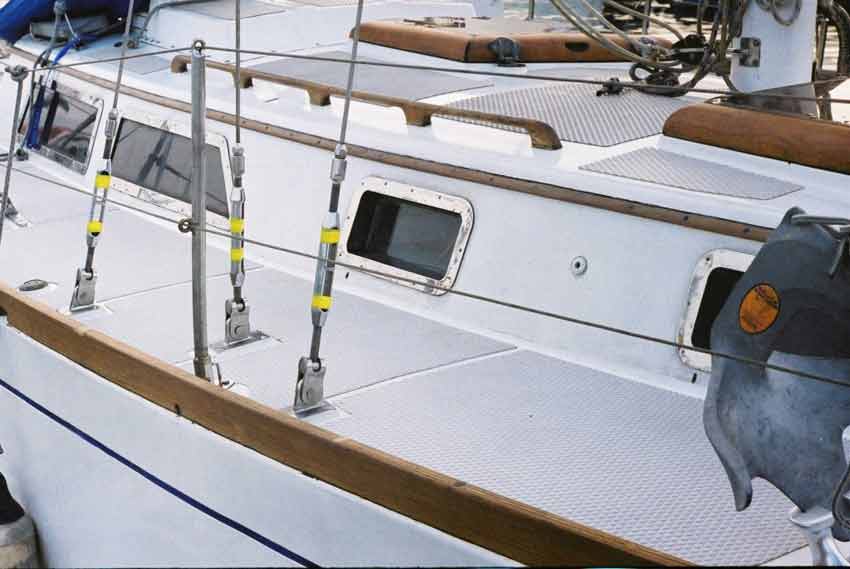
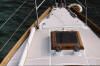
A note on deck
fittings – things like deck fills, chainplates etc I raised
using little plinths of “Starboard” constructional plastic.
The thinking was to raise them above deck level to prevent
water ingress. You can see some of this on the photos. I
also added a stern anchor roller and a Bruce anchor chock on
the foredeck. On the toe rail, I cut the scuppers down to
the new deck level (and added a few new ones to improve
drainage).
The photos were
taken just after I finished (December 2002). It still looks
like that, and I’ve had no problems in the last year. A
side benefit was that rebedding all the deck fittings cured
a few mysterious leaks.
Fair winds –
Nigel Evans, Hong Kong

|